Planning a new kitchen is exciting, but one of the most common questions homeowners ask is how long the process will actually take. While every project is different, understanding the typical timeline for kitchen renovations in Canberra can help you prepare for each stage and avoid unnecessary delays. Whether you are updating an existing layout or undertaking a complete transformation, knowing what happens before, during and after installation makes the entire process easier to manage.
For many kitchen renovations, the visible installation stage may take 2 to 4 weeks. However, the full process from design, selections and ordering through to final connections can commonly take 6 to 12 weeks or longer, depending on the scope of work, product lead times, cabinetry manufacturing and trade availability.
From initial design and product selections through to cabinetry manufacturing, installation and final connections, each phase is vital in the overall schedule. This guide explains the key milestones involved in a typical renovation, what can affect timing and how working with an experienced team, such as Caliber Kitchens, can help keep your project organised and on track from start to finish.
Plan the Layout, Materials and Appliances
Careful planning of the layout, finishes and appliances usually adds 1 to 3 weeks to the timeline before demolition begins. Time spent here prevents costly changes later and keeps the build phase moving smoothly. This is when the functional flow of the kitchen is locked in, products are specified and lead times are confirmed.
This stage aims to finalise a practical floor plan that suits the space, select materials that match the budget and lifestyle and choose appliances early enough to avoid delays. Measurements, technical requirements and supplier timelines are all confirmed so trades can work to a clear brief.
Finalise the Layout and Measurements
A detailed site measure is the starting point. Walls, windows, ceiling height and structural elements are recorded so the layout on paper matches the real space. Any existing services are also noted, as they can affect how easily the layout can be changed.
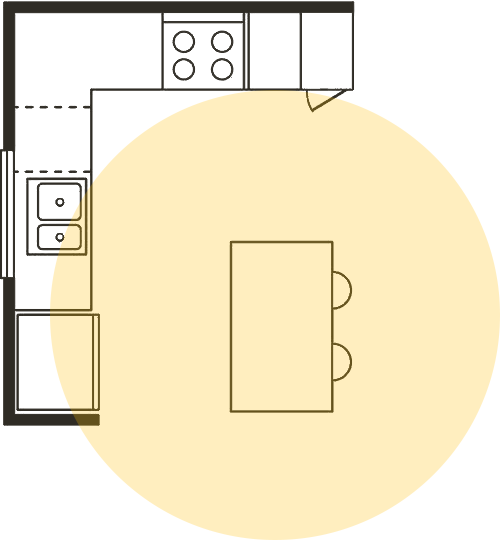
The layout is then refined to define where each key zone will sit. The sink, cooktop and fridge are positioned to create an efficient workflow, usually following a work triangle or zoned approach. Storage is planned in detail. Pantry size, drawer configurations, corner solutions and overheads are set out so there is a clear idea of how everyday items will be organised.
It can also help to think through the broader layout and workflow considerations before cabinetry is ordered, as these decisions affect storage, appliance placement and how the kitchen functions day to day.
At this stage, decide if walls will be removed or moved. Structural changes affect cost and timing and may trigger the need for permits, engineering advice or approval before work can proceed. Once the layout is confirmed, detailed plans and elevations are prepared for cabinetry, benchtops and splashbacks, including exact positions for appliances, lighting and power points.
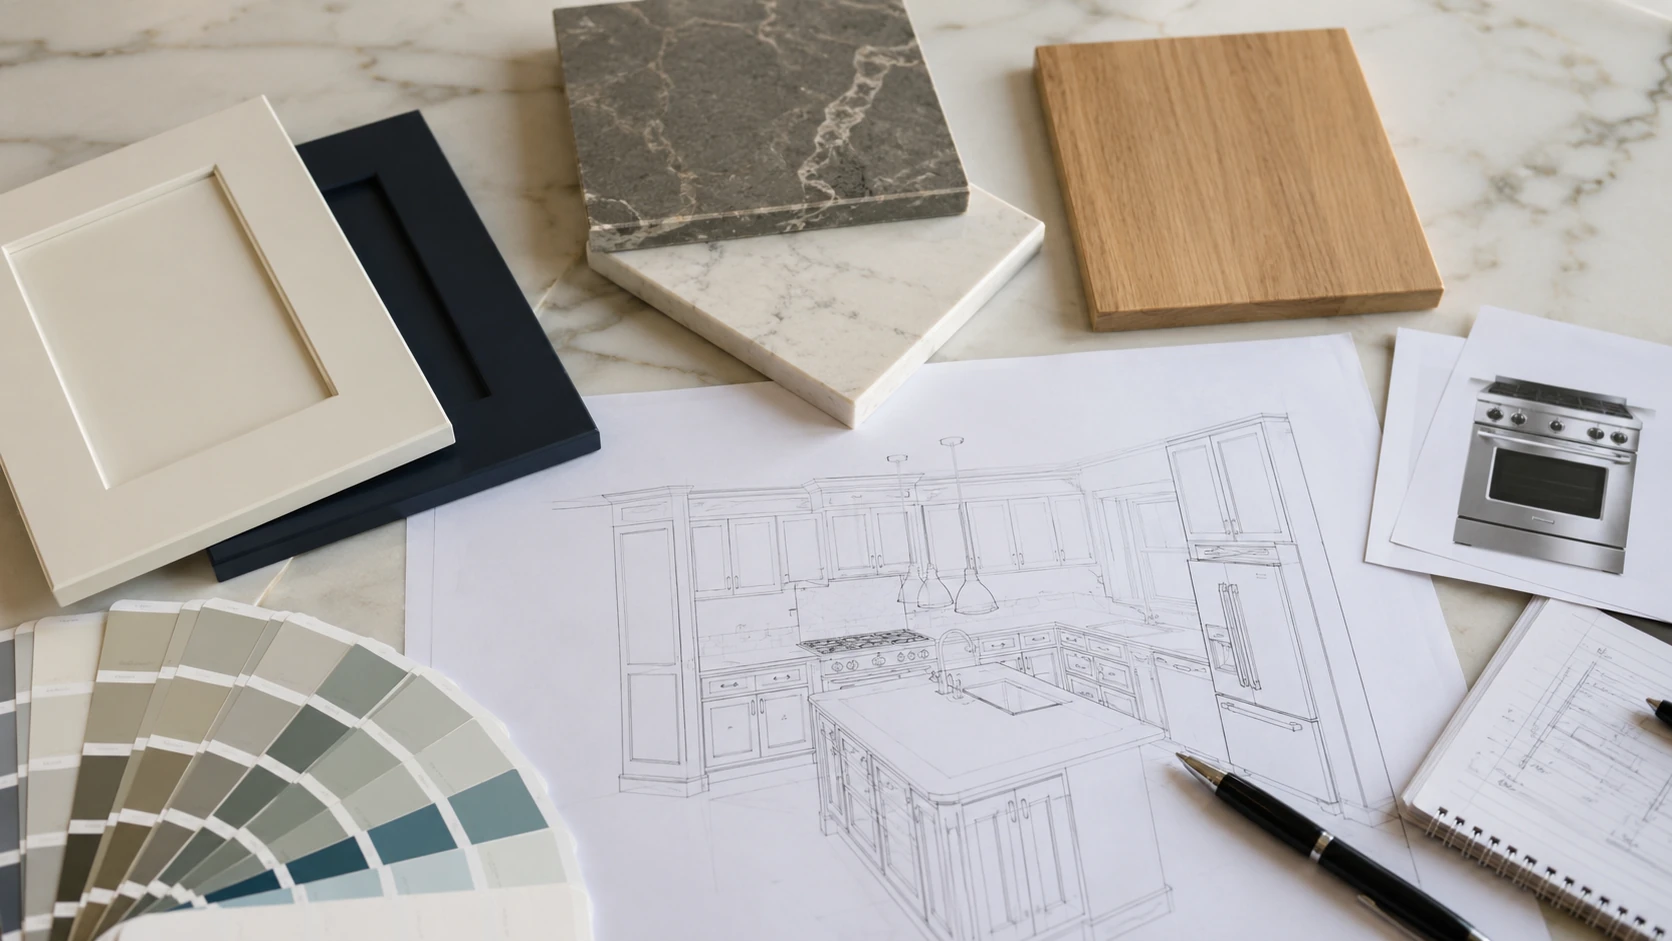
Choose Materials and Finishes
Material selection typically overlaps with layout planning. Cabinet finishes, benchtops, splashbacks, flooring and hardware are all chosen with appearance, durability and maintenance in mind. For example, natural stone, engineered stone, porcelain and some solid-surface benchtops usually have longer lead times than laminate and may require earlier booking of templating and fabrication.
Budget plays a key role. Mid-range projects often combine cost-effective cabinetry with a feature benchtop or splashback. Higher-end projects may specify custom joinery, integrated handles and premium stone or porcelain. Practical considerations should guide choices for busy family kitchens, especially where surfaces need to handle frequent cooking, cleaning and daily wear.
Once selections are made, they are documented in a specification schedule. This record includes product names, colours, finishes and suppliers so everyone on site is working to the same information. Accurate specifications also allow cabinetmakers to begin shop drawings and ordering without delay.
Select Appliances Early and Confirm Services
Appliance selection needs to be final before cabinetry is manufactured. Every appliance has specific dimensions and ventilation or clearance requirements that directly affect cabinet design. At a minimum, the following should be locked in during planning:
- Cooktop or range type and size
- Oven configuration
- Rangehood style and ducting method
- Fridge size and hinge orientation
- Dishwasher type and installation style
Gas or induction choices influence electrical and gas provisions. Induction cooktops often require a dedicated circuit and may need electrical upgrades, depending on the model selected and the capacity of the existing wiring and switchboard. Integrated fridges or dishwashers need custom panels and precise cavity sizes.
Once models are chosen, cutout sizes and installation manuals are passed to the designer and trades so plumbing, gas, power and ducting are all positioned correctly before cabinetry is ordered.
Allow Time for Cabinetry Manufacturing and Product Orders
Cabinetry and product lead times often determine the real length of a kitchen renovation. Even if demolition and trades are ready to go, installation cannot start until cabinets, benchtops and key fixtures arrive on site. Properly allowing for manufacturing and ordering avoids last-minute delays and a half-finished kitchen.
Every supplier works to different timeframes and those timeframes can change throughout the year. A realistic schedule builds in buffer time for custom work, back orders and freight issues so that all products are ready when trades are booked.
Typical Lead Times for Custom Cabinets
For a full kitchen renovation, custom cabinetry is usually the longest single lead item. From sign-off of final drawings to delivery, typical manufacturing times sit around 4 to 8 weeks, depending on the following:
- Level of customisation and complexity
- Choice of materials and finishes
- Volume of cabinets and accessories
- Factory workload and seasonal demand
Peak renovation periods, such as spring and early summer, often add extra weeks as factories run at capacity. Building in an additional 1 to 2 week buffer in busy seasons allows for queues in both manufacturing and delivery.
Ordering Appliances, Benchtops and Fixtures
Appliances are quickest if chosen from stocked models, yet some premium brands, colours or gas configurations are ordered in and can take 3 to 6 weeks. Integrated fridges and dishwashers must be on site when cabinets are installed, so their lead time should be checked early.
Engineered stone, natural stone or porcelain benchtops usually follow cabinet installation. However, slabs should be selected and ordered before installation so stock is reserved. After cabinets are in place, a site measure is taken and fabrication often takes 1 to 3 weeks before installation.
Taps, sinks, handles, lighting and accessories may appear minor, but they can still delay work if they are not on site when needed. Special finishes such as brushed brass, gunmetal and designer fittings are often indent-ordered and may require 3 to 8 weeks.
Sequencing Orders to Avoid Delays
A practical approach is to lock in all specifications before any demolition starts. This allows:
- Cabinet drawings to be finalised and sent to production
- Appliances to be ordered with confirmed model numbers
- Sinks, taps and hardware to be purchased or placed on back order
- Benchtop slabs or materials to be selected and reserved
- Trades to plan around confirmed product sizes and service requirements
A typical sequence sees product selections completed 2 to 4 weeks before demolition, then cabinetry ordered immediately, with all other items ordered at the same time. Site work can then be scheduled to finish rough-in and preparation just before cabinets are due to arrive, keeping the renovation moving without unnecessary gaps.
Prepare the Space Before Installation Begins
A smooth installation starts long before the first cabinet goes on the wall. Properly preparing the kitchen and surrounding areas helps keep the project on schedule, protects the home from damage and gives trades easy access to work efficiently. Neglecting this stage is one of the most common reasons timelines slip.
Preparation begins in the week leading up to installation and can take from a single day to several days, depending on how much needs to be cleared, protected or upgraded. Time invested here reduces mess, surprises and costly delays once the renovation is underway.
Clear Out Cabinets, Surfaces and Adjacent Rooms
The first task is to empty the kitchen. All cupboards, drawers and pantry shelves should be cleared of food, crockery, cookware and small appliances. Countertops and open shelves need to be stripped of decor and everyday items. This ensures safe removal of old cabinetry and reduces the risk of damage or dust contamination.
Plan where everything will go before packing. Frequently used essentials can be set up in a temporary kitchenette space, for example, in a dining room or utility room, with a kettle, microwave and basic utensils. Less-used items can be boxed, labelled clearly by category and stored in a dry room away from the work zone.
It is also wise to clear circulation paths leading to the kitchen. Hallways and entry points should be free of furniture or obstacles so installers can carry in units, benchtops and appliances without risk of collision.
Protect Floors, Fixtures and Living Areas
Once the room is cleared, the next step is protection. Existing flooring that will remain needs covering with a durable floor protector or heavy-duty cardboard taped at the edges. This helps prevent scratches from tools and boots and guards against dropped hardware or debris.
Doorways and openings that connect to the rest of the house benefit from dust control. Plastic sheeting or temporary zip walls can be installed to limit the spread of plaster dust and sawdust into living spaces. Air vents in the work area may need covering temporarily if specified by the installer to keep dust out of the system.
Any items that cannot be removed should be wrapped or sheeted. Light fittings that will stay in place can be protected with plastic covers once power is safely isolated as required. Taking time to shield these elements reduces post-renovation cleaning and repair work.
Allow Time for Demolition and Rough-In Work
Before new cabinetry can be installed, the old kitchen usually needs to be removed and the space prepared for new services. This stage may include disconnecting plumbing, gas and electrical points, removing old cabinets, repairing walls, adjusting flooring and completing any required plumbing, electrical or gas rough-in work.
For a straightforward renovation, demolition and rough-in may take a few days. More complex projects can take longer if walls are being altered, services are being relocated or damaged surfaces need repair before installation begins. Completing this work properly helps ensure cabinets, appliances, sinks, lighting and power points are positioned correctly before the new kitchen is fitted.
Removing the Existing Kitchen
The existing kitchen is usually removed once all major products have been ordered and the renovation schedule is confirmed. Cabinets, benchtops, splashbacks and appliances are carefully removed, with plumbing, gas and electrical services disconnected safely by the appropriate trades where required.
The condition of the walls, floor and services can only be fully checked once the old kitchen is out. This is when hidden issues may become visible, such as water damage, uneven walls, damaged plaster, old wiring or plumbing that needs repair before the new kitchen can be installed.
Completing Service Rough-In
Rough-in work prepares the space for the new kitchen layout. This may include moving plumbing points for the sink or dishwasher, adjusting gas lines, installing new power points, preparing circuits for appliances, running wiring for lighting and ensuring rangehood ducting is positioned correctly.
The rough-in stage is important because it sets up the services behind the finished cabinetry and walls. If this work is rushed or based on incomplete plans, it can lead to misaligned appliances, unusable power points or additional work after cabinets are installed.

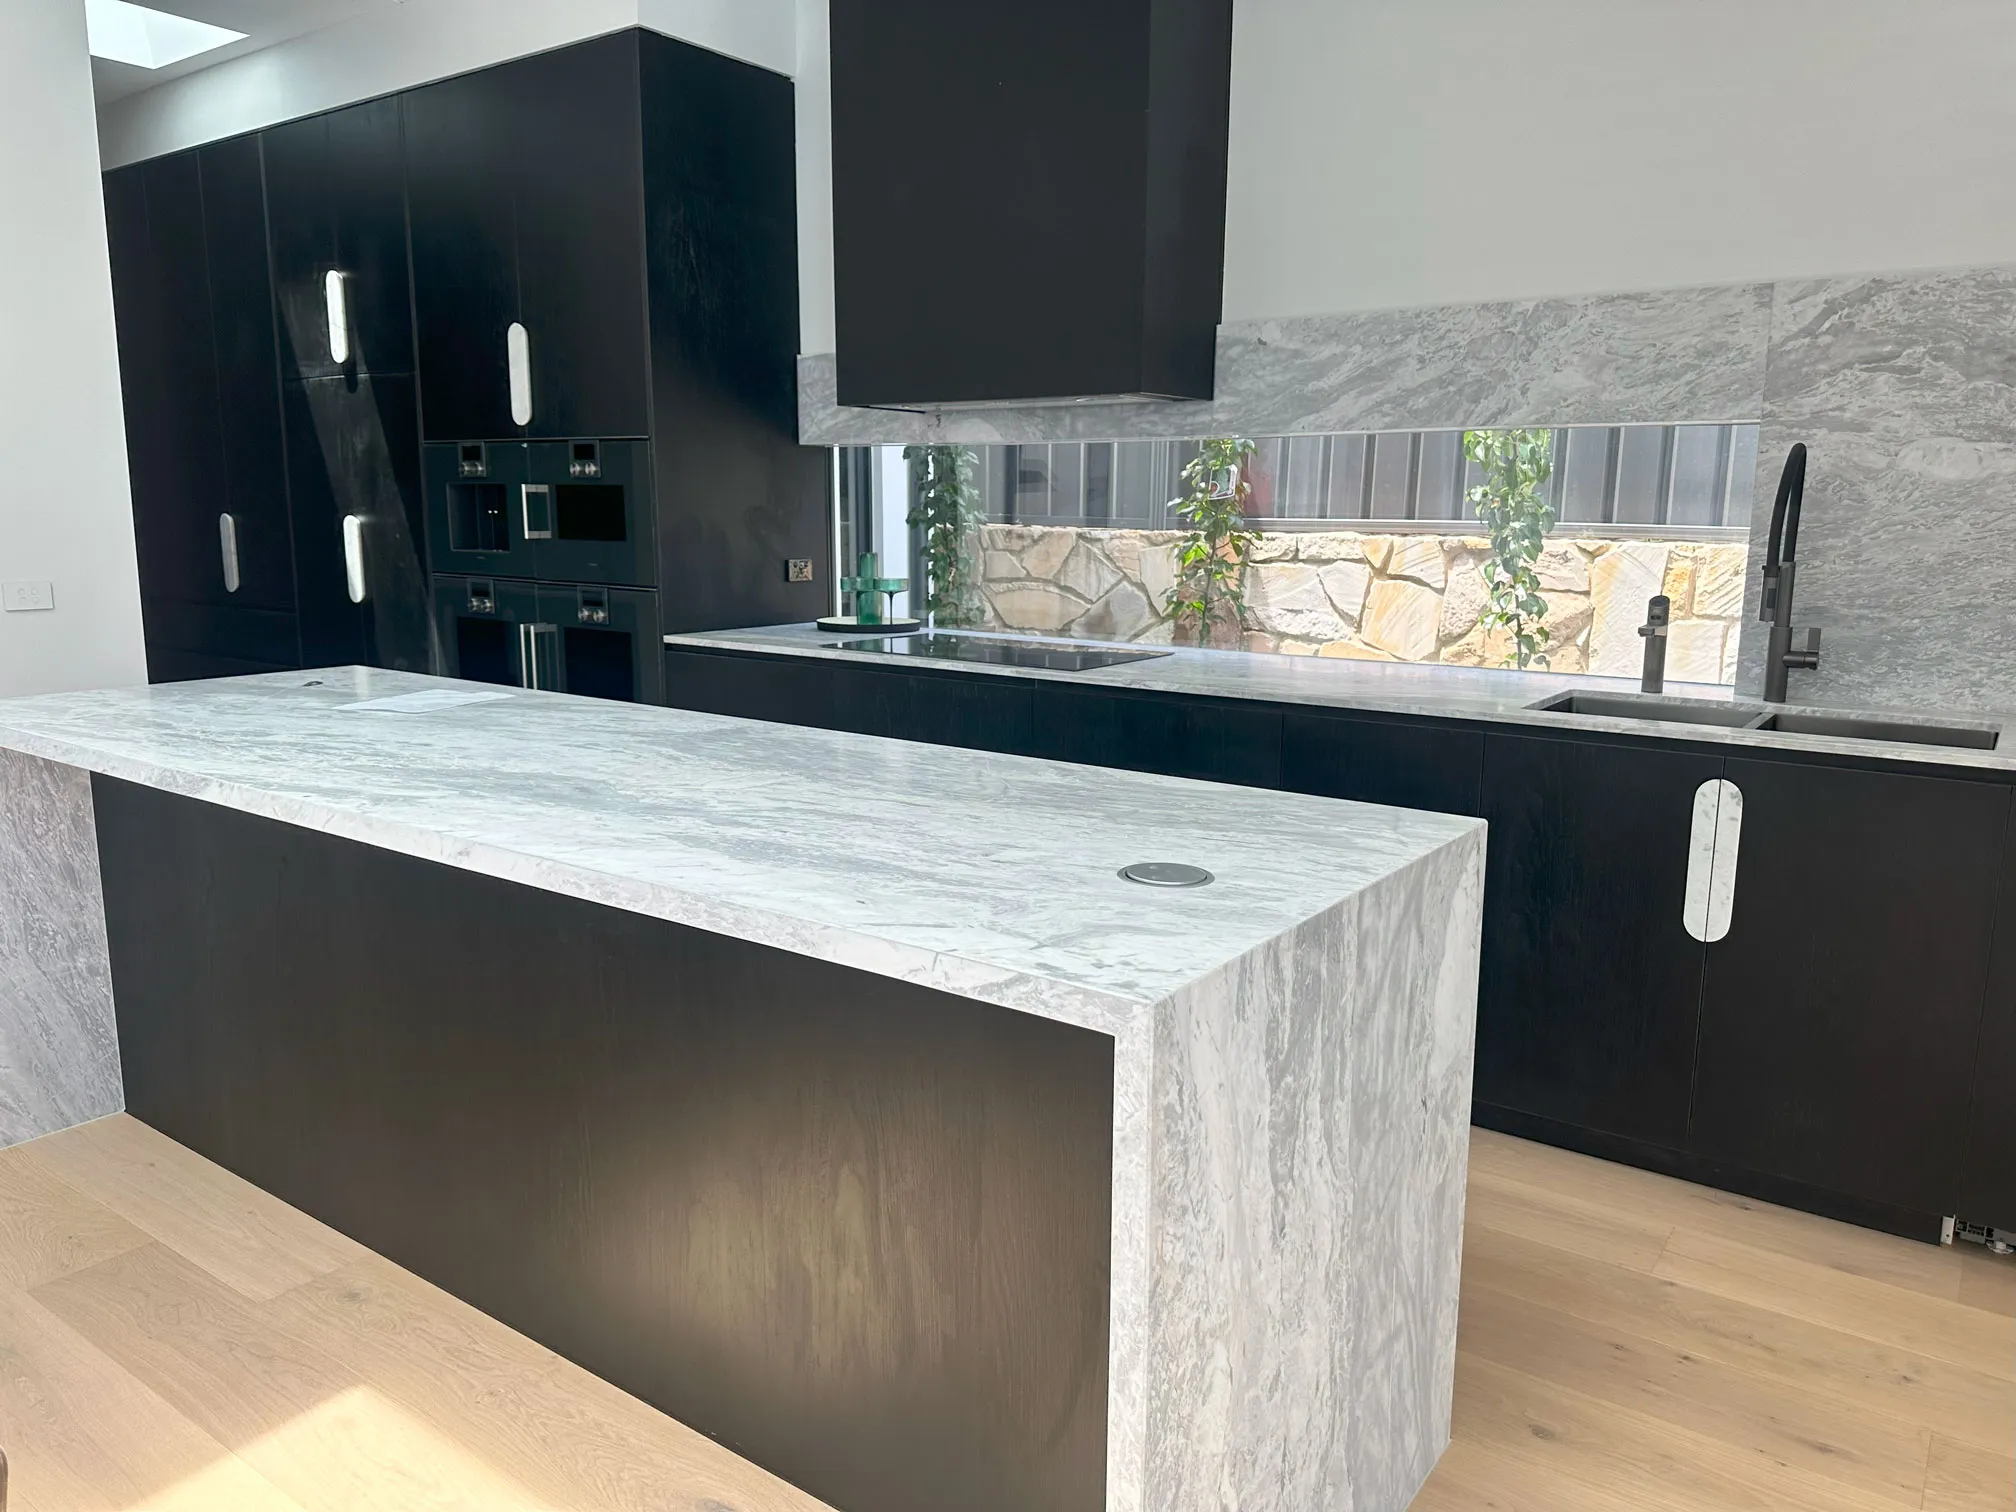
Install the Cabinetry, Benchtops and Finishing Details
This is the stage where the new kitchen finally starts to look like a finished space. Timing here depends on the size of the kitchen, the complexity of the design and whether all products are on site. On average, allow 3 to 7 working days for cabinetry installation, with additional time for benchtops, splashbacks and finishing touches.
Careful sequencing is critical. Cabinetry must be correctly aligned and secured before benchtop templates can be confirmed or stone can be installed. After that, details such as splashbacks, handles and silicone sealing complete the room.
Installing Base and Wall Cabinets
Cabinetry installation starts with the base units because they set the levels for appliances and benchtops. Installers carefully check walls and floors for level, then pack and fix the cabinets so doors and drawers operate smoothly.
A straightforward kitchen with standard cabinets can often be installed in 2 to 3 days. Larger layouts, island benches or custom storage can push this to 4 to 5 days. Expect more time if walls are uneven or if there are many tall units, such as pantries or appliance towers, that must line up precisely.
Wall cabinets are then fixed into studs or masonry anchors at a precise height above the benchtop level. These must be plumb and level with the base cabinets to avoid gaps and misaligned doors later.
Benchtop Templating and Installation
The benchtop process depends heavily on the chosen material. Laminate or timber tops may be cut and installed on site as soon as the cabinets are secure. Natural stone, engineered stone, porcelain and some solid-surface benchtops usually require a template before fabrication.
Typical timelines are:
- Template measure: 1 day once the cabinets are fully fixed
- Fabrication: 5 to 10 working days for stone, porcelain or solid surface
- Installation: 1 day on site for most kitchens
On installation day, the benchtops are dry-fitted, checked for level and then permanently fixed. Cutouts for the sink and cooktop are either pre-cut in the factory or cut on site, depending on the material and supplier. Plumbing and electrical connections for sinks, taps, cooktops and dishwashers usually follow once adhesives and silicones have cured, where required.
Finishing Details and Adjustments
Finishing work brings the kitchen together and often takes another 2 to 4 days, depending on the specification. This usually includes fitting door and drawer fronts, installing handles, adjusting hinges, aligning gaps and fitting end panels, kickboards and filler pieces.
Splashbacks are installed once benchtops are in place. Glass or stone splashbacks typically require a measure and then 5 to 10 working days for manufacture before fitting. Tiled splashbacks can often be started within a day of benchtop installation, provided surfaces are prepared.
Silicone sealing to benchtops and splashbacks, final paint touch-ups and a detailed clean complete the space. A final round of adjustments is normal so cabinet doors close evenly, appliances sit flush and every element lines up as intended.
Complete the Final Plumbing, Electrical and Appliance Connections
Once the new kitchen is installed and the finishes are in place, the focus shifts to making everything function safely and efficiently. Final plumbing, electrical and appliance connections typically take 1 to 3 days for a standard-size kitchen, depending on the number of appliances and the complexity of the layout.
Work must be completed in line with the relevant ACT building, plumbing and electrical requirements, with licensed trades used where required. Shortcuts at this stage can lead to leaks, tripping circuits, appliance faults or compliance issues that are costly and disruptive to fix once the kitchen is in use.
Plumbing Hookups and Testing
The plumber returns after benchtops and sinks are installed to complete all visible connections. This usually includes connecting the sink mixer, tap, waste and overflow fittings, dishwasher water inlet and drain line and, if specified, fridge water lines for ice and chilled water.
Existing plumbing points should already be in the right locations from the rough-in stage. Final work focuses on sealing and testing. All connections are tightened and checked, and then the water is turned on systematically to confirm correct pressure and identify any drips under sinks or behind appliances. Traps and wastes are filled and flushed to ensure there are no slow leaks that could damage cabinets over time.
Electrical Fit-Off and Safety Checks
The electrician completes the fit-off once cabinetry, splashbacks and appliances are in place. This may include installing power points, connecting appliances, fitting lighting, installing switches and completing any final electrical testing required for the project.
Circuits are tested with appropriate equipment to confirm they are operating safely and that safety switches trip as required. Outlets must be positioned to meet relevant electrical requirements, particularly near sinks, cooktops and appliances. Any adjustments to pendant heights or light placement are finalised now, so feature fittings must be on site and ready.
Smart switches or integrated lighting controls are also programmed and tested at this point.
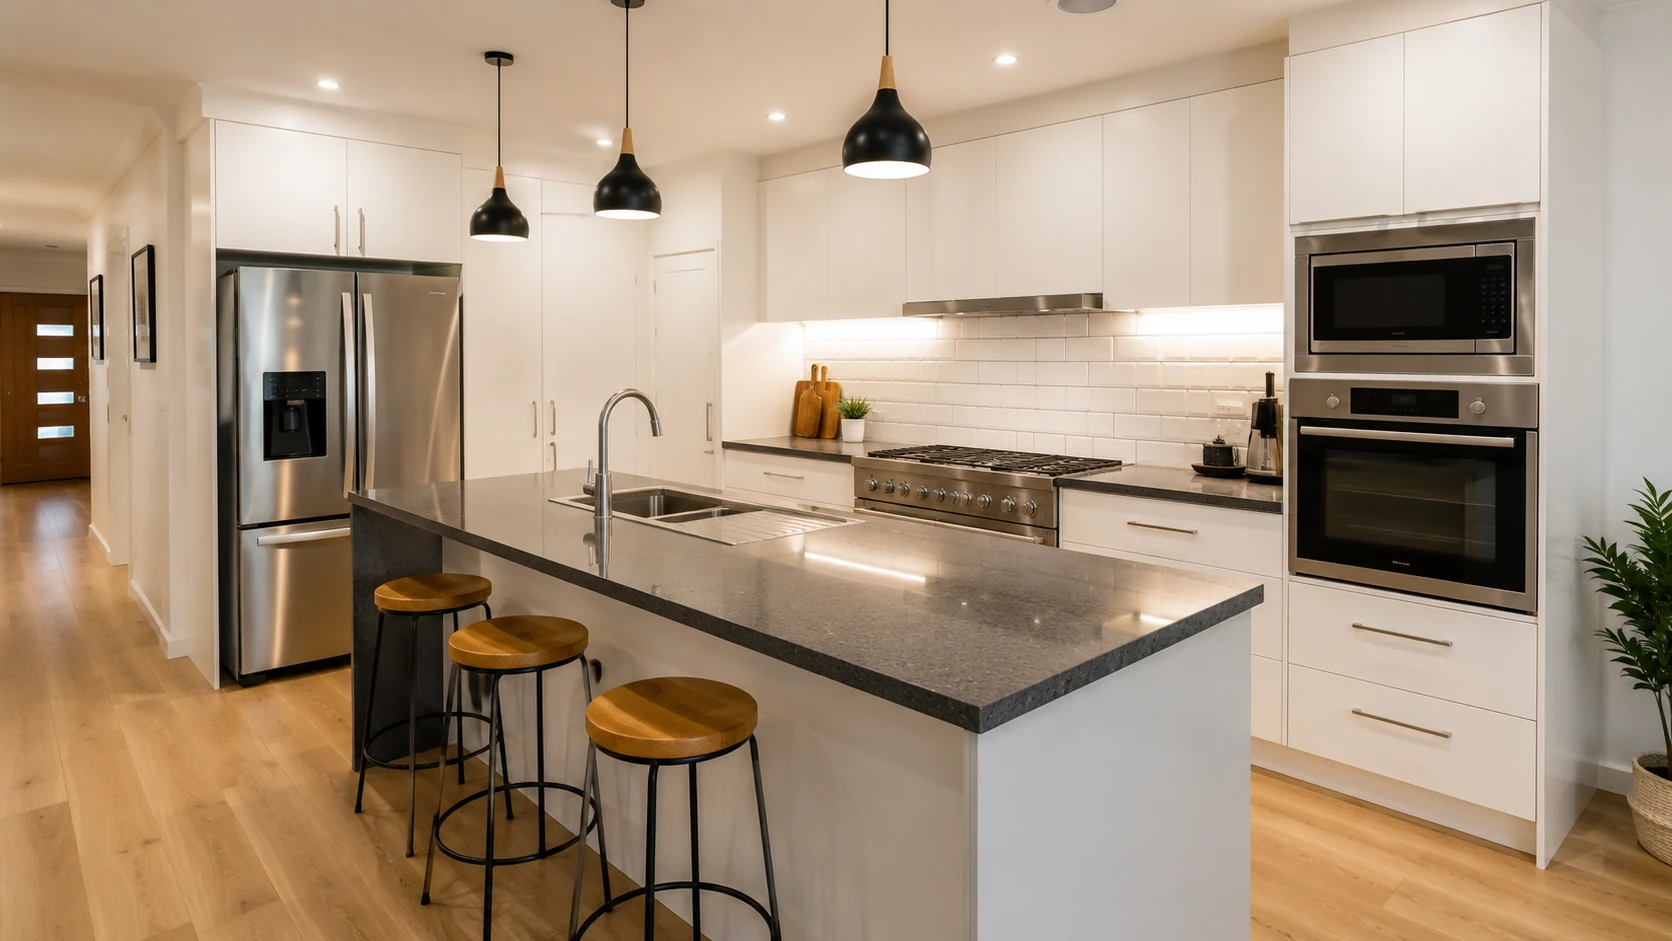
Installing and Commissioning Appliances
Most major appliances are set in place once benchtops and cabinetry are complete and then fully connected during this stage. This includes levelling ovens and dishwashers, aligning integrated panel fronts, making final water and power connections and securing appliances so they do not move in use.
Each appliance should be powered up and run briefly to confirm correct operation. For example, the dishwasher is run on a short cycle to check for leaks, the oven is turned on to burn off manufacturing residues and the rangehood is tested for airflow and correct ducting. Any error codes or issues are logged immediately so warranty support can be arranged before handover.
What Can Cause a Kitchen Renovation to Take Longer?
Even the best-planned kitchen renovation can run over time. Understanding the most common causes of delays makes it easier to set realistic expectations and make decisions that keep the project moving. Many timing issues can be reduced or avoided entirely with careful planning, product choices and clear communication before work begins.
Some delays are within the homeowner’s control, such as late design changes and custom product selections. Others relate to site conditions or external factors, such as approvals, supplier delays and trade availability. Knowing where the risks sit helps prioritise what to lock in early.
Design Changes and Scope Creep
The fastest way to extend a renovation timeline is to change the plan once work has started. Even small design adjustments can trigger a chain reaction.
If cabinet layouts are altered after manufacturing begins, new plans must be drawn, products re-quoted and production slots rescheduled. Changing benchtop materials or profiles after cabinets are installed can delay templating and fabrication. Adding extra lighting or power once walls are lined may require reopening plaster and booking trades back on site.
To minimise delays, finalise the layout, appliance finishes and key details before ordering and treat the signed-off plan as locked unless a change is essential.
Supply Chain and Custom Product Lead Times
Many kitchen components are made to order and any issue with supply will quickly push dates out. Typical pressure points include imported appliances arriving late, the wrong appliance model being delivered, custom cabinetry requiring longer factory lead times, or specialty finishes being unavailable when needed.
Stone and porcelain benchtops can also depend on slab availability and fabrication capacity. Feature items, such as bespoke rangehoods, designer handles or custom lighting, may have limited production runs and longer delivery times.
Choosing products that are in stock or have confirmed delivery dates before demolition begins significantly reduces risk. Where a long-lead item is non-negotiable, the installation sequence may need to be staged around its arrival.
Approvals and Trade Scheduling
Certain projects need approvals, engineering input or inspections, which can hold up progress if not factored in from the start. Structural wall removals, window changes and major service relocations may require additional review before work can proceed. Inspector availability can also affect when the next stage can begin.
Trade availability is another key factor. If one critical trade, such as an electrician, plumber or tiler, is delayed, the whole sequence can pause. Limited access to the property, restricted working hours or apartment building rules can further stretch the timeline and should be discussed well in advance.
A successful kitchen renovation depends on careful planning, realistic scheduling and a clear understanding of how each stage fits together. From finalising layouts and selecting materials to coordinating trades and completing final connections, every step contributes to the overall timeline and outcome.
While unforeseen challenges can occasionally arise, many delays can be avoided by making decisions early, confirming product availability and ensuring the space is properly prepared before work begins. Working with an experienced renovation team helps simplify the process and provides greater confidence that each stage will be completed efficiently and professionally.