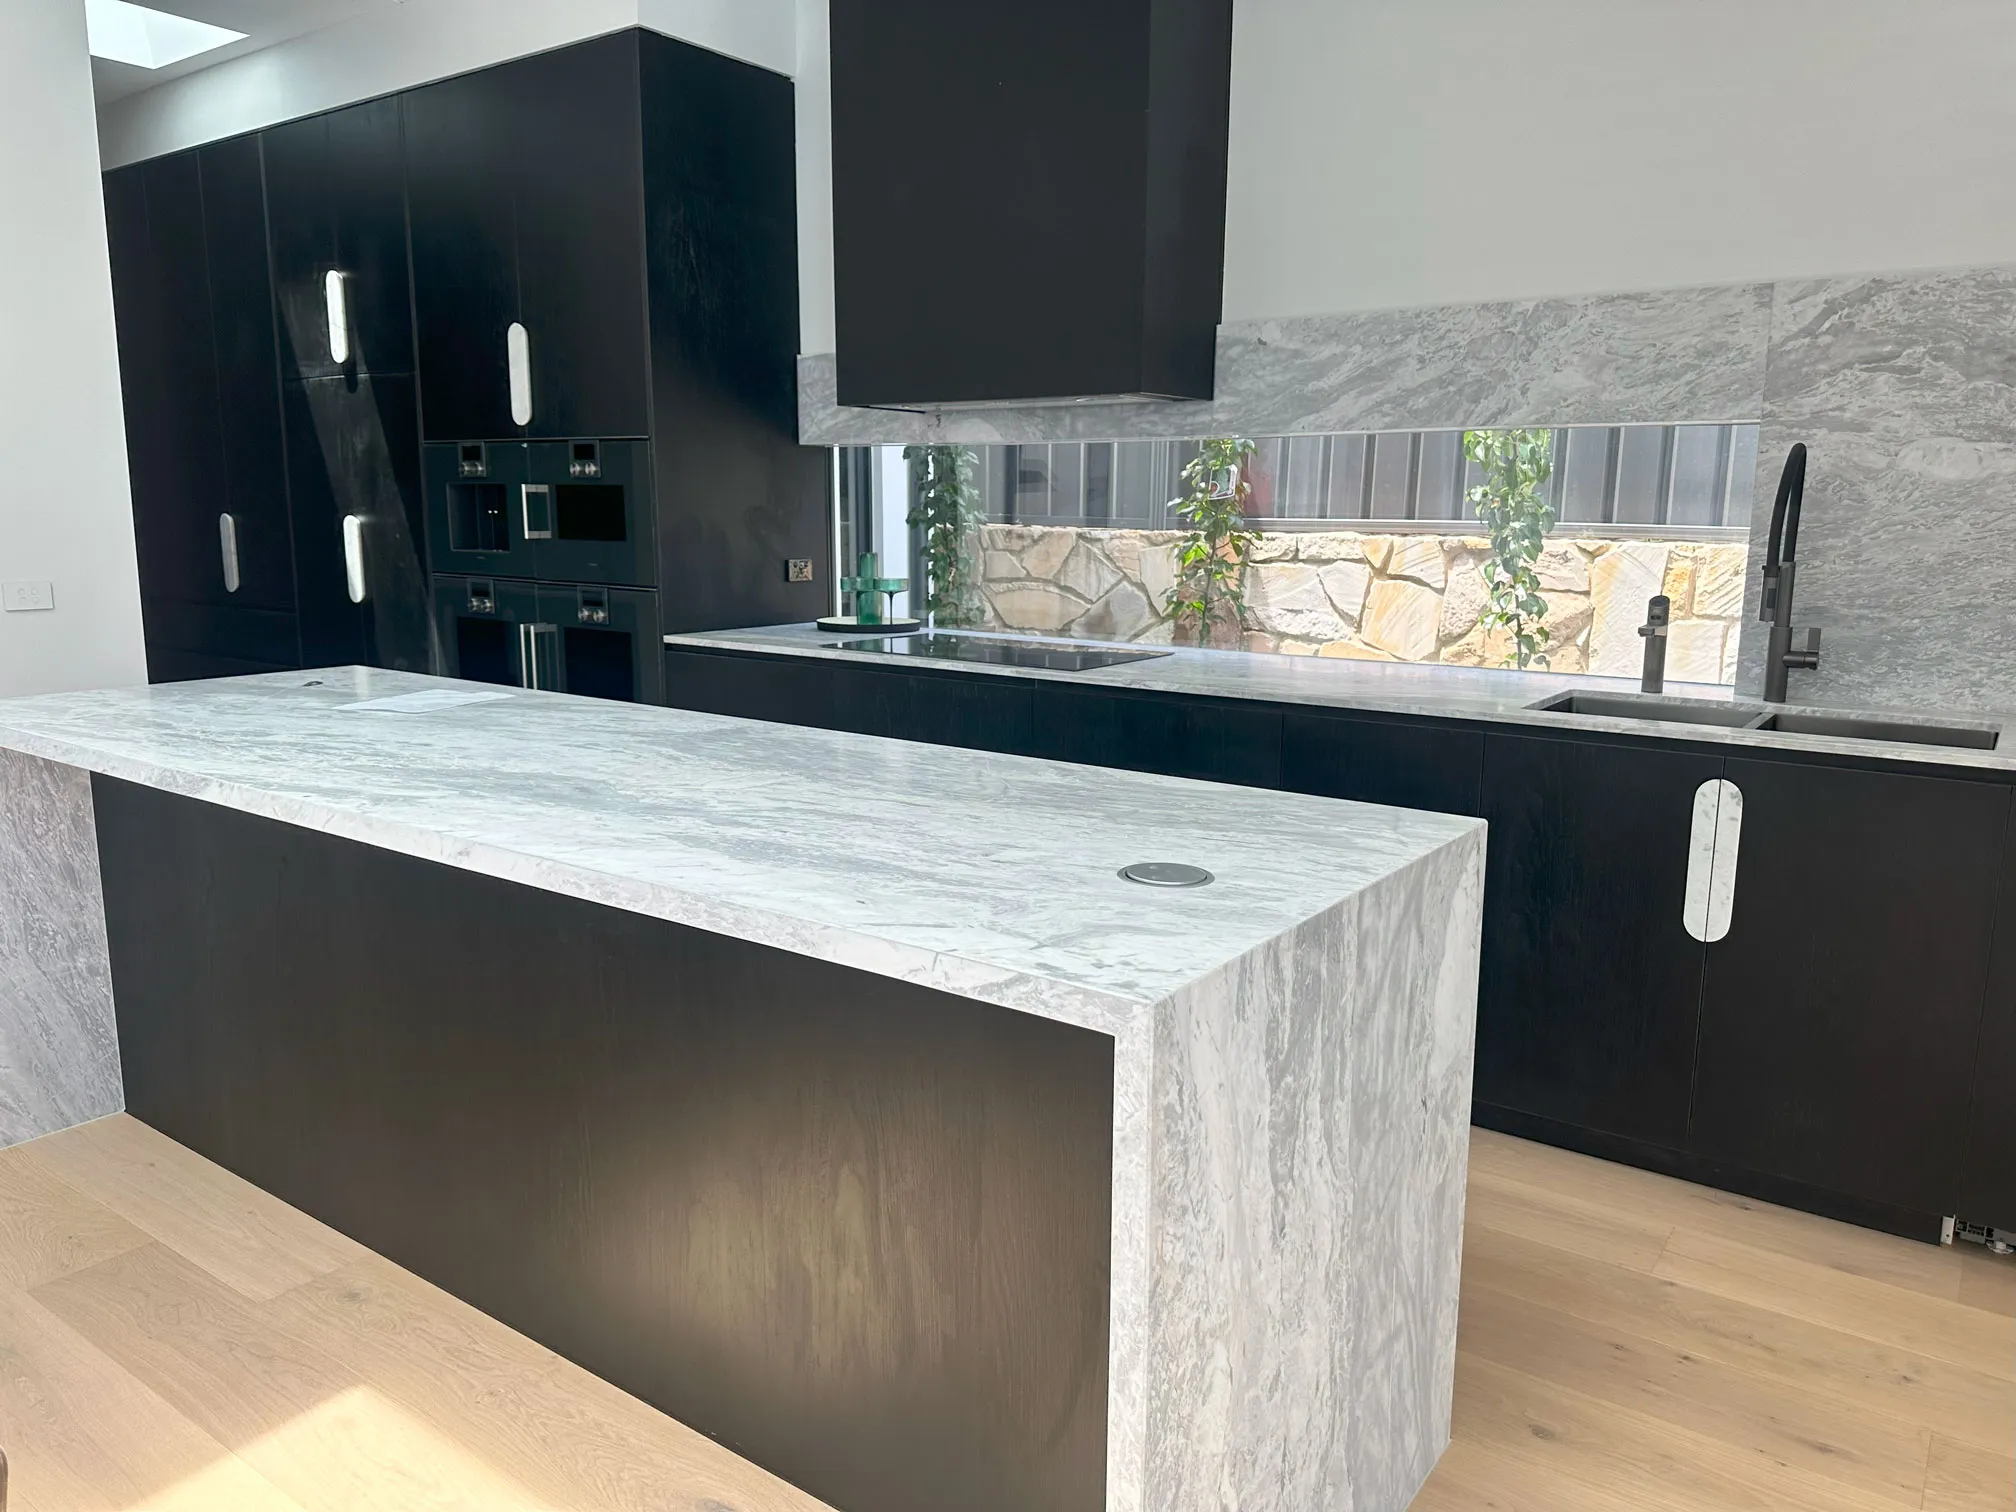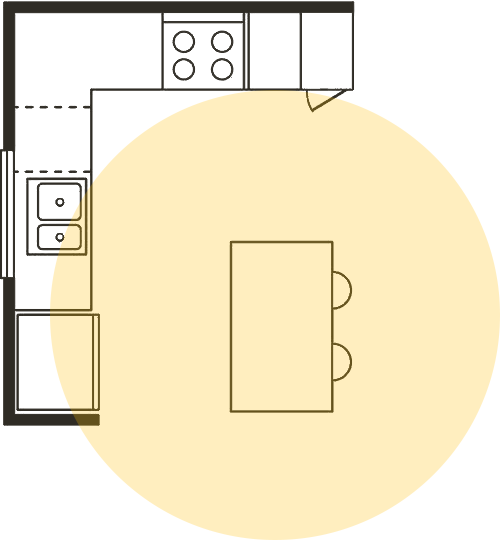
A kitchen splashback needs to do more than fill the space between the benchtop and cabinets. It must withstand heat, moisture and everyday splashes while also contributing to the overall look of the kitchen. For homeowners planning kitchen renovations in Canberra, the right material, colour and finish can make a noticeable difference to functionality and visual appeal.
The best splashback should suit the kitchen's design and the way it is used every day. Glass, tiles, stone and porcelain offer different benefits, while factors such as grout, maintenance, lighting, heat resistance, coverage and installation can affect performance.
Caliber Kitchens considers these practical and design factors together to help homeowners create a splashback that complements the rest of the kitchen, remains durable and is easy to maintain.
Kitchen Splashback Materials Compared
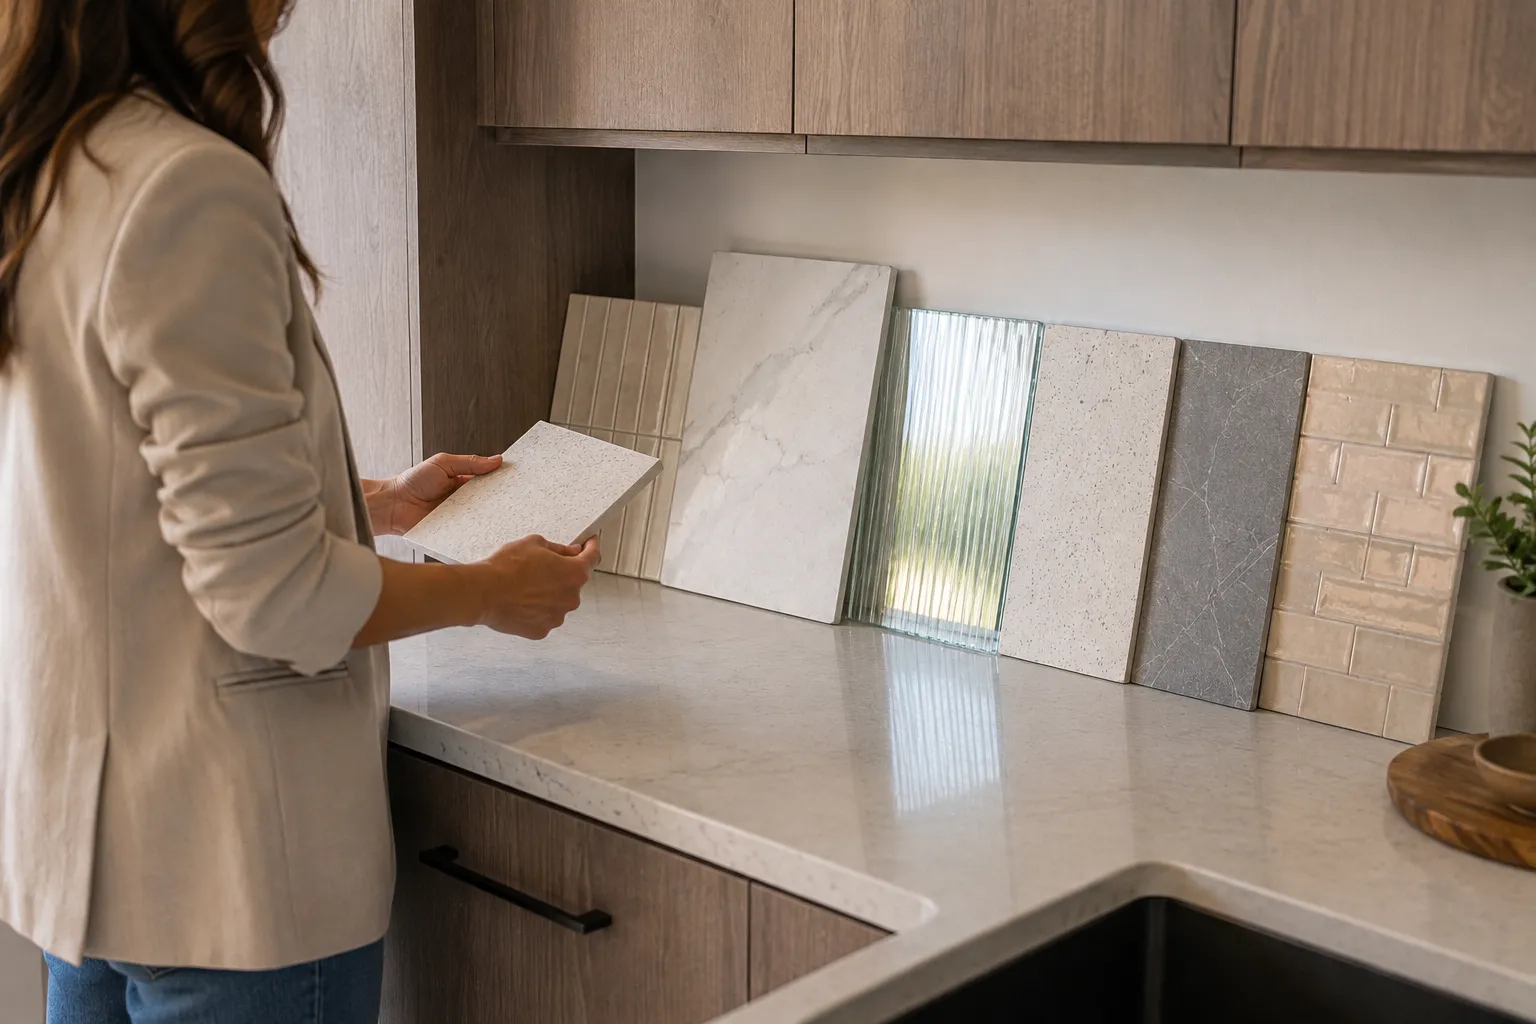
The right splashback material needs to balance appearance, budget, durability and everyday practicality. Some options are easy to clean, while others provide greater design flexibility or a more premium finish. Comparing their strengths and limitations makes it easier to choose a surface that suits the kitchen.
Glass
Toughened glass creates a sleek, modern finish with minimal joins, making it suitable for contemporary and transitional kitchens. It is available in solid colours, printed designs and mirrored finishes.
Glass is also easy to clean, with grease and splatters wiping away with a soft cloth and suitable cleaner. When correctly specified and installed, suitable toughened glass can be used behind cooktops in accordance with the appliance manufacturer's instructions and applicable requirements.
Its main drawbacks are its susceptibility to scratching and the difficulty of repairing chips or cracks. While glass can cost more than basic tiles, large panels can provide a streamlined finish with relatively few joins.
Tiles
Ceramic and porcelain tiles remain popular because they offer extensive design flexibility across different price points. They are available in a wide range of colours, patterns, sizes and finishes, from simple subway tiles to large-format options.
Tiles are durable and well suited to kitchen environments, while porcelain offers good resistance to staining. The main maintenance consideration is grout, which can discolour or collect grime. Darker or epoxy grout can help reduce visible staining and simplify cleaning.
Smaller tiles provide more scope for detailed patterns but create additional grout lines. Large-format tiles offer a cleaner appearance with less grout and can provide a more seamless look.
Stone and Porcelain Slabs
Stone and porcelain slab splashbacks create a premium, continuous appearance and can be matched with or designed to complement the benchtop. Natural veining and patterns can also make a full-height splashback a strong feature.
Performance depends on the material. Some natural stones require regular sealing and careful cleaning to help prevent staining or etching, while porcelain is highly dense, non-porous and heat-resistant. Homeowners comparing slab materials should also be aware of Australia's engineered stone ban, which applies to engineered stone benchtops, panels and slabs that meet the regulated definition. These properties make porcelain a practical low-maintenance option for busy kitchens.
Slab splashbacks cost more because of material, fabrication and installation requirements. However, their minimal joins create a streamlined finish while reducing areas where grease and grime can collect.
Match Your Splashback With Your Benchtop and Cabinetry
A splashback should work with the benchtop and cabinetry rather than compete with them. When colour, pattern, texture and finish are considered together, the three surfaces can create a cohesive kitchen instead of looking like separate design choices.
Start by deciding which surface will be the main feature. If the benchtop has strong veining or a bold pattern, a simple glass, understated tile or neutral porcelain splashback can provide balance. Your choice of benchtop material can also influence which splashback colours, patterns and finishes work best. If the benchtop is relatively plain, the splashback can introduce more colour, pattern or texture while the cabinetry remains restrained.
When comparing options, consider:
- Colour and undertones: Cool whites, greys and charcoals pair well with cooler splashback tones, while cream, beige and warm timber finishes suit warmer shades like taupe or soft green.
- Texture and sheen: Combining different finishes can create contrast without making the kitchen feel busy. For example, a matte splashback can soften the look of a glossy benchtop.
- Cabinetry style: Detailed cabinetry such as Shaker or V-groove doors often works well with a simpler splashback, while flat-front cabinetry can accommodate stronger patterns or decorative tiles.
- Proportion: Dark or heavily patterned splashbacks can dominate smaller kitchens. Keeping the splashback close in tone to the cabinetry can help the space feel more open.
Before deciding, place material samples vertically against the actual benchtop and cabinetry. Check them in both natural and artificial light, as colours and finishes can look different once installed.
Choose the Right Splashback Height and Coverage
Splashback height and coverage affect wall protection and the overall proportions of the kitchen. The right approach depends on where cooking and cleaning take place, the type of cooktop and how the splashback will meet cabinetry, windows and rangehoods.
Standard or Full Height?
A standard splashback commonly extends around 600 mm above the benchtop behind a cooktop and around 300-400 mm in general preparation areas. These are common design dimensions rather than universal requirements, so appliance instructions and applicable requirements should always take precedence.
Full-height splashbacks extend to the underside of overhead cabinets or to the ceiling. They offer greater protection from heat, steam and grease while creating a more seamless, finished appearance. They can also help draw the eye upwards in smaller kitchens.
Cover Key Splash Zones
The cooktop requires the most protection, with the splashback extending across the cooking area and beyond its edges where appropriate. Gas cooktops require particular attention to heat resistance and clearances, which should be confirmed against the specific appliance requirements.
Behind sinks, adequate coverage helps protect walls from constant water and detergent splashes. Open benchtops used for food preparation or small appliances can also benefit from a continuous splashback rather than exposed painted walls.
Plan Around Windows and Rangehoods
Windows, rangehoods and feature areas can affect the splashback's height and layout. Where a cooktop or sink sits beneath a window, the material can be taken neatly up to the frame. Around rangehoods, extending the splashback to the underside of the hood can create a cleaner transition.
For feature walls without overhead cabinets, a full-height splashback can make a strong design statement. Where different heights or materials meet, aligning transitions with cabinet edges or other natural points can keep the overall design balanced.
Choose Materials for Cooktops and Wet Areas
Cooktops and wet areas expose splashbacks to heat, moisture, grease and frequent cleaning, so material choice and installation requirements need careful consideration. Behind a cooktop, heat resistance, combustibility and required clearances are key considerations, while around sinks and dishwashers, water resistance, sealing and easy cleaning become more important.
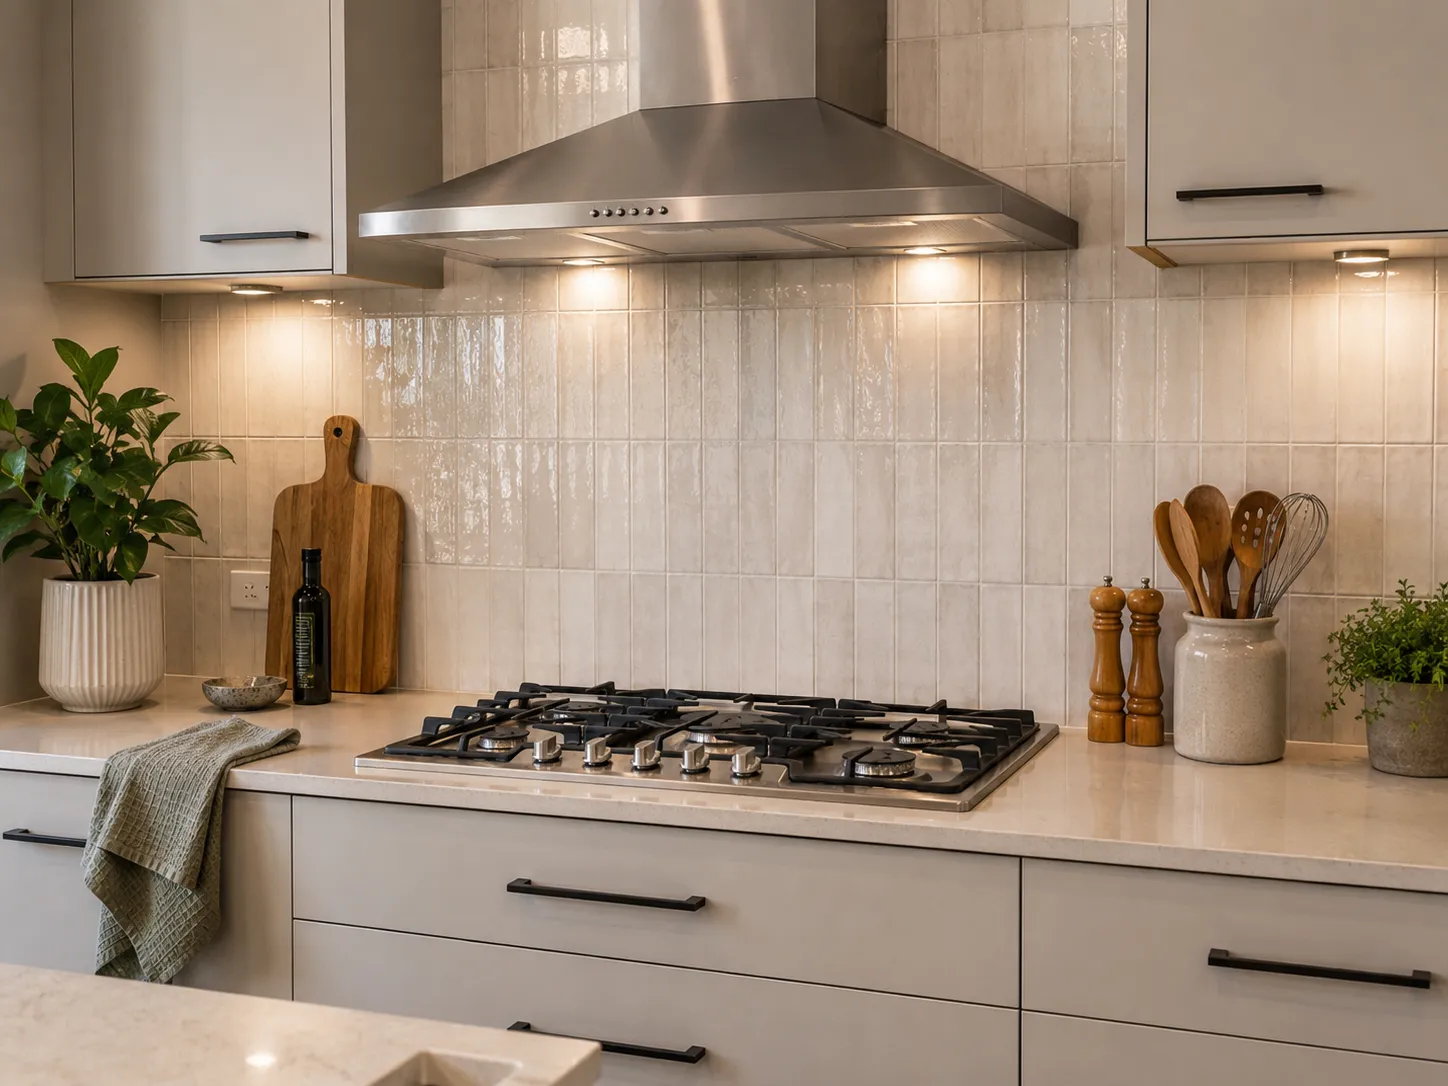
Suitable materials behind cooktops include tiles, appropriately specified toughened glass and stainless steel, depending on the appliance, installation conditions and applicable requirements. The material should always be selected and installed according to the cooktop manufacturer's instructions rather than relying on assumptions about heat resistance.
For wet areas, smooth and non-porous surfaces can simplify cleaning. Porous stone and textured tiles may require additional sealing and maintenance, while the joint between the splashback and benchtop should be properly sealed to help reduce moisture ingress.
Power points, windows, taps and other fixtures should also be planned before installation so cut-outs, clearances and finishes can be accurately coordinated. Checking these details early helps ensure the splashback is safe, durable and practical for everyday use.
Prioritise Cleaning, Maintenance and Durability
A splashback needs to withstand grease, food splatters, steam, water and regular cleaning in a busy kitchen. Smooth, non-porous materials are easier to maintain, while tiles and natural stone may require more attention depending on their grout and sealing requirements.
When comparing options, look beyond the surface itself and consider:
- Grout and joints: Smaller tiles create more grout lines that can collect grime, while epoxy grout can provide greater resistance to staining and moisture than standard cement grout.
- Cleaning requirements: Choose a surface that can be wiped down easily and follow the manufacturer's recommendations to avoid scratching, dulling or damaging the finish.
- Long-term durability: Glass, porcelain, ceramic tiles and quality stone can provide long service when correctly installed, but each has different vulnerabilities. Natural stone may need periodic sealing, while glass can be susceptible to scratches or impact damage.
Cooking habits should also influence the choice. Homeowners who cook frequently or prepare greasy foods may benefit from a smooth, low-maintenance surface, while those who prioritise design flexibility may prefer tiles. A durable surface that suits everyday use can provide better value than choosing purely for appearance.
Plan for Lighting and Overall Design
Lighting can change how a splashback's colour, texture and finish appear throughout the day. The material should work with natural light, under-cabinet lighting, cabinetry, benchtops and flooring rather than being chosen on its own.
Glossy glass, polished tiles and metallic finishes can reflect light and help smaller or darker kitchens feel brighter. Coordinating the splashback with lighting, cabinetry and other reflective finishes can also help make a small kitchen feel bigger. However, highly reflective surfaces can also create glare and show fingerprints or water spots more easily. Satin or matte finishes can provide a softer alternative.
Natural and artificial lighting can also change how colours and undertones appear. Before making a final decision, place samples vertically against the cabinetry and benchtop and view them under the kitchen's actual lighting at different times of day.
The splashback does not need to match every kitchen surface, but it should share a visual connection through colour, texture or pattern. A neutral splashback can complement a feature benchtop, while a bold design can become the focal point when other finishes are more restrained.
Considering the splashback alongside the wider interior helps create a finished kitchen that feels cohesive rather than added as an afterthought.
Select the Right Splashback Format
The way a splashback is manufactured affects its cost, appearance, installation and ability to suit the kitchen layout. Custom panels offer a precise fit; prefabricated panels can be practical for straightforward spaces, while tiles provide greater flexibility with patterns and dimensions.
The best option depends on the wall size, number of corners and cut-outs, desired finish and budget:
- Custom splashbacks: Made to the kitchen's exact measurements, making them suitable for unusual walls, windows, power points and full-height installations. They can minimise joins but cost more and require accurate measurements before fabrication.
- Prefabricated splashbacks: Available in standard sizes and finishes, making them practical for simple layouts. They can reduce material and installation costs but may require additional cutting or joins where dimensions do not align.
- Tiled splashbacks: Offer extensive choice in colours, patterns, sizes and textures and can be adapted around corners and fixtures. However, more tiles mean more grout lines, cleaning and installation time.
The splashback should be planned alongside cabinetry, electrical work and benchtops rather than selected at the very end. Coordinating measurements, cut-outs and wall preparation early can help avoid installation problems and unnecessary modifications.
Check Installation Requirements Before Buying
A splashback may look ideal in a showroom but still be unsuitable for a kitchen if installation requirements are overlooked. Wall condition, cooktop clearances, electrical outlets, windows, fixtures and material-specific fixing requirements can all affect the final choice.
Before purchasing, check:
- Wall condition: The surface should be clean, dry, sound and sufficiently level. Damaged or uneven walls may need preparation before tiles, glass or large-format panels can be installed.
- Power points and fixtures: Outlets, switches, taps, rangehoods and other fittings should be positioned before custom materials are measured and cut. Accurate planning helps avoid costly modifications and unnecessary cut-outs.
- Cooktop requirements: Confirm that the chosen material is suitable for installation behind the specific appliance and meets relevant heat, clearance and installation requirements. Gas cooktops may have additional considerations.
- Measurements and timing: Custom splashbacks should be measured once cabinetry, benchtops and relevant fixtures are sufficiently established. Installation should also be coordinated with the wider renovation sequence. Where splashback installation involves electrical, plumbing or gas work, the relevant work should be completed by appropriately licensed tradespeople.
Discussing these requirements with the renovation team before purchasing the splashback can help prevent delays, incorrect measurements and costly changes while ensuring the finished surface fits correctly and performs as intended.
What Affects the Cost of a Kitchen Splashback?
The cost of a kitchen splashback depends largely on the material, size, design and complexity of installation. Basic ceramic or porcelain tiles are more affordable, while custom glass, stone and large-format porcelain can cost more.
Rather than focusing only on the material price, allow for supply, installation and preparation costs. The final price can increase where the splashback requires:
- Custom measurements or cut-outs for power points, windows, taps or rangehoods
- Full-height coverage instead of a standard-height splashback
- Complex tile patterns or detailed layouts
- Large glass, stone or porcelain panels requiring specialist handling
- Wall preparation or removal of existing tiles and damaged surfaces
- Additional joins, corners or awkward wall sections
When comparing quotes, homeowners should check whether materials and installation are included and confirm the exact finish, coverage and design. Reviewing the splashback budget with the renovation team early can help ensure the chosen material fits within the overall project without compromising on appearance, durability or installation requirements.
Choosing the right splashback means balancing style, practicality and durability. By considering the material, colour, finish, lighting, maintenance, heat resistance, installation requirements and budget, homeowners can select a surface that complements the rest of the kitchen and suits everyday use.
Caliber Kitchens understands that a well-chosen splashback should do more than look good. Whether the preference is classic tiles, sleek glass, natural stone or another practical finish, the right choice can protect the walls, simplify cleaning and create a cohesive finish that continues to work.